
Proper Torque for Carbon Handlebars?
Proper Torque for Carbon Handlebars: A Guide to Safe and Secure Riding
Carbon handlebars have gained immense popularity among cyclists for their lightweight properties and superior strength. However, as with any component on a bike, proper maintenance is crucial to ensure safety and optimal performance. One essential maintenance aspect that cyclists must pay attention to is the correct torque setting for these handlebars. This article will delve into the importance of proper torque, how to achieve it, and the tools needed to get it right. For a deeper understanding of why carbon handlebars are beneficial, check out our article on carbon handlebar myths.
Understanding Torque Settings
Torque is a measure of rotational force applied to a fastener, such as screws or bolts. In cycling, this measurement is vital for ensuring that components are neither too loose nor overly tight. For carbon handlebars, applying the correct torque is particularly crucial because carbon fiber is sensitive to excessive force. Over-torquing can lead to cracks, structural failure, and ultimately compromise the handlebars’ integrity. For tips on keeping your handlebars in great shape, read our article on keeping carbon handlebars like new.
Why Proper Torque Matters
- Preventing Damage: Carbon fiber is a composite material that can be significantly weakened by improper torque. Applying too much force can cause micro-fractures, leading to catastrophic failure during a ride. Conversely, under-torquing can result in components becoming loose, which can be equally dangerous. If you notice any damage, check out our guide on signs you need carbon handlebars now.
- Safety: Loose handlebars can lead to loss of control, posing a risk to the cyclist and others on the road. Ensuring proper torque keeps all components securely fastened, promoting safer rides.
- Performance: Properly torqued handlebars maintain alignment and function better during rides, ultimately improving the cycling experience.
- Longevity: Regular maintenance with the right torque settings can extend the life of carbon components. This translates to fewer replacements and potentially lower costs in the long run. For cost-effective options, see our article on carbon vs. aluminum handlebars.
Recommended Torque Settings for Carbon Handlebars
While specific torque recommendations can vary between manufacturers, a general guideline is as follows:
- For handlebar clamps (the area where the handlebars connect to the stem), the typical torque range is 4-6 Nm (Newton-meters). To explore more about compatible handlebars, check 3 simple checks for carbon handlebar compatibility.
- For brake and shifter lever clamps, the torque recommendation usually falls between 2-4 Nm.
Always refer to the manufacturer’s specifications, as they may provide specific guidelines for different models or types of components.
Tools Needed
To ensure precise torque settings, it’s essential to use the right tools:
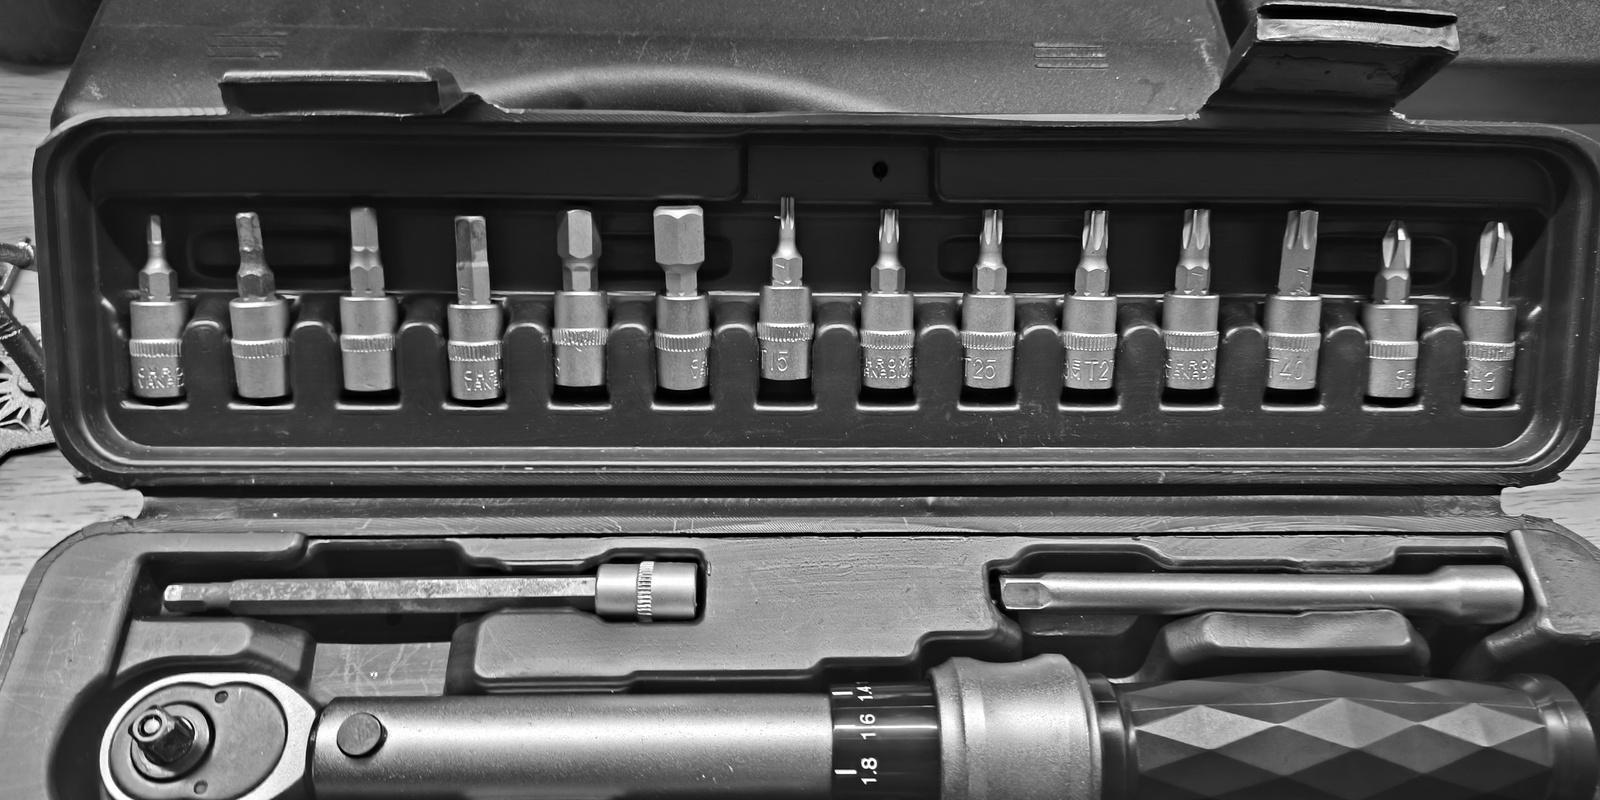
- Torque Wrench: A good-quality torque wrench is crucial for accurately measuring torque. Digital torque wrenches provide a readout and can beep or flash when the desired torque is reached, minimizing the risk of over-tightening.
- Torque Key: Many cyclists prefer using a torque key for specific components. This tool is set to a predetermined torque and will click when the correct torque is applied, providing an easy and straightforward option for accurate tightening.
- Bike Stand: A stable bike stand allows you to easily access the handlebars for adjustments and ensures the bike is secure while you work.
- Loctite or Anti-Seize Grease: Depending on the manufacturer’s recommendations, applying a small amount of grease or threadlocker can help ensure a secure fit without causing damage.
Steps for Setting Torque on Carbon Handlebars
- Preparation: Begin by ensuring the handlebars, stem, and any other components are clean and free from debris. This prevents dirt from affecting the torque application.
- Check Manufacturer Specifications: Always consult the specifications provided by the manufacturer for the exact recommended torque settings for your specific handlebars. Also, see our article on 5 must-ask questions before buying carbon handlebars.
- Use the Torque Wrench: Attach the handlebar to the stem and gradually tighten the bolts. Monitor the torque reading carefully, stopping once you reach the specified setting.
- Double-Check: After initially setting the torque, it’s a good practice to re-check everything after a short test ride. Components can settle during the first few rides, making it essential to ensure everything is still securely fastened.
- Regular Maintenance: Make it a habit to check your torque settings regularly, especially after long rides or rough terrain. Preventive maintenance can save you from disasters down the road.
Proper torque application on carbon handlebars is a critical aspect of cycling maintenance that enhances safety and performance while prolonging the lifespan of components. By understanding the importance of torque, adhering to manufacturer specifications, and using the right tools, cyclists can enjoy the benefits of carbon technology without compromising safety. For those looking to upgrade, visit our shop for premium options. Remember: when it comes to bike maintenance, “better safe than sorry” should always be the guiding principle. Happy cycling!